
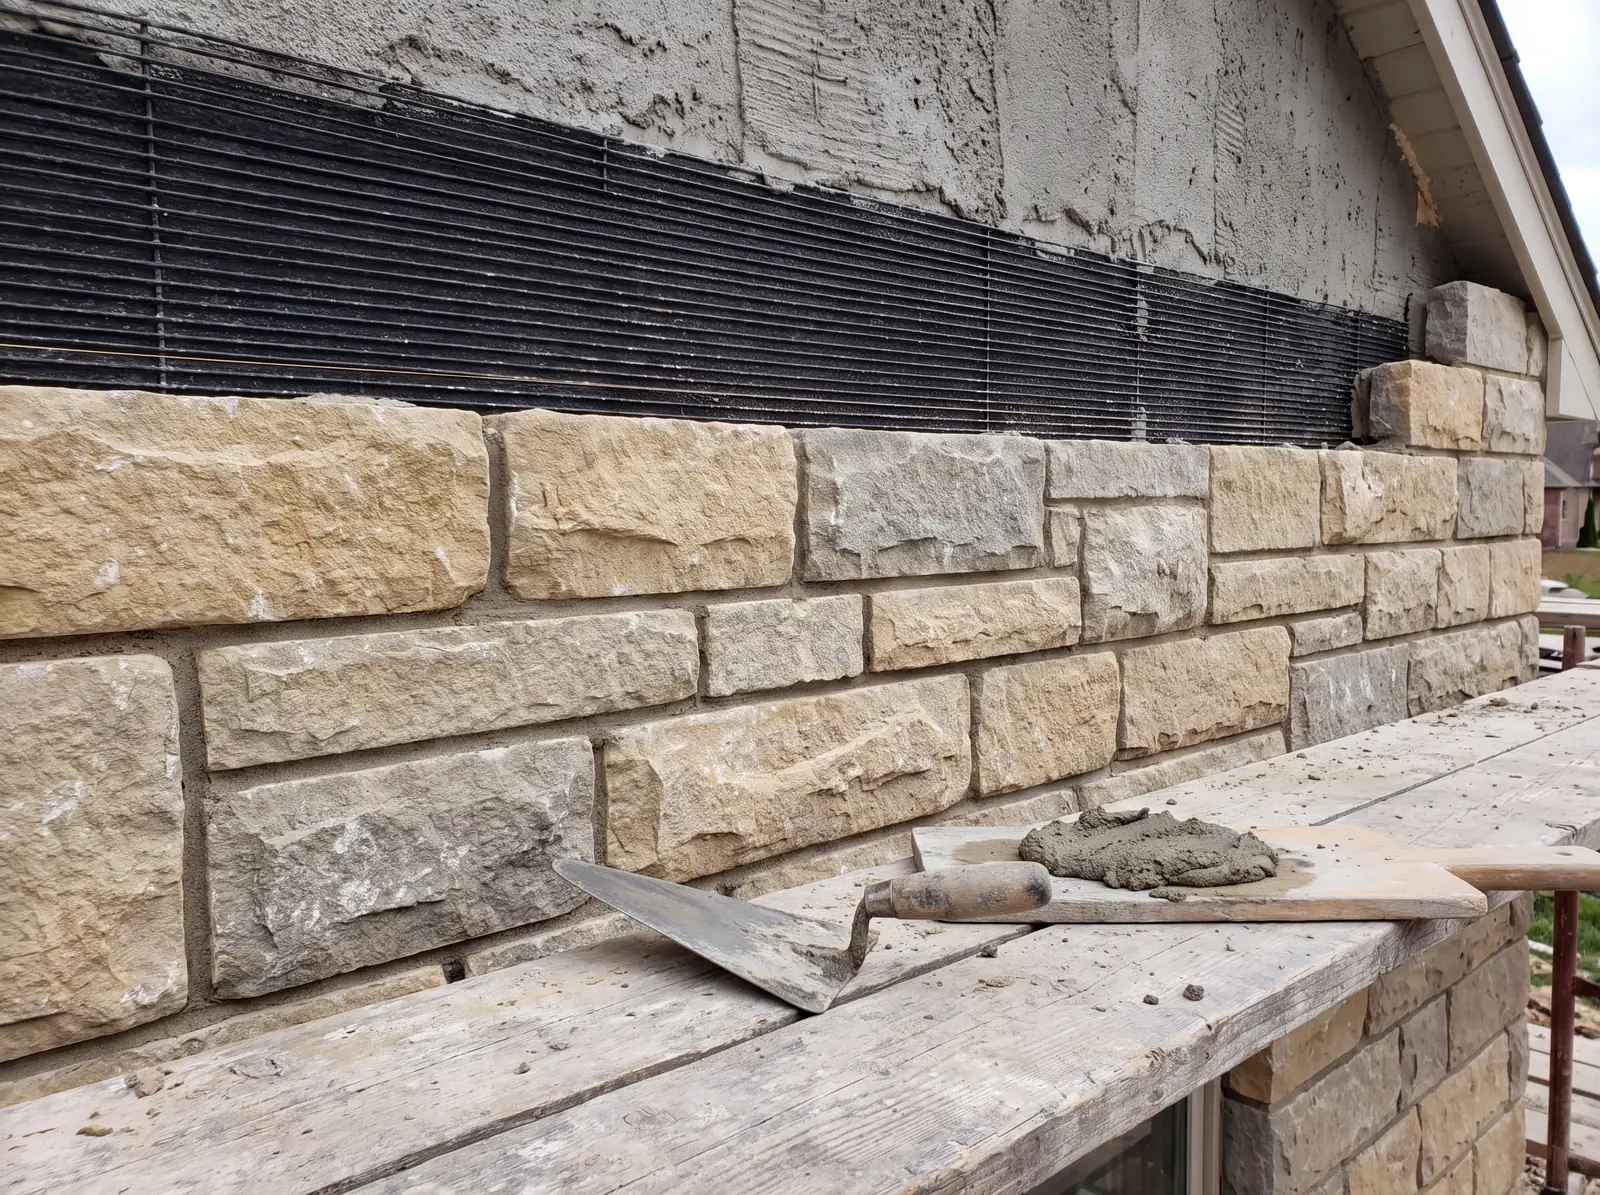
Water follows rules, so details can too
Water moves by gravity, wind pressure and capillary action. It runs down, gets pushed sideways in a storm and wicks up into porous materials until it finds a way in. In Colorado, freeze-thaw adds another force: water in masonry or a crack expands as it freezes and widens the opening a little more each winter.
Good details answer those forces the same way. Every layer laps over the one below it, like shingles. Every opening sheds water outward. And wherever water can get past the face, there is a planned route back out.
Six joints where houses succeed or leak
These six connections show up on most homes in some form. Each one is cheap to get right during construction and expensive to fix once it is covered.
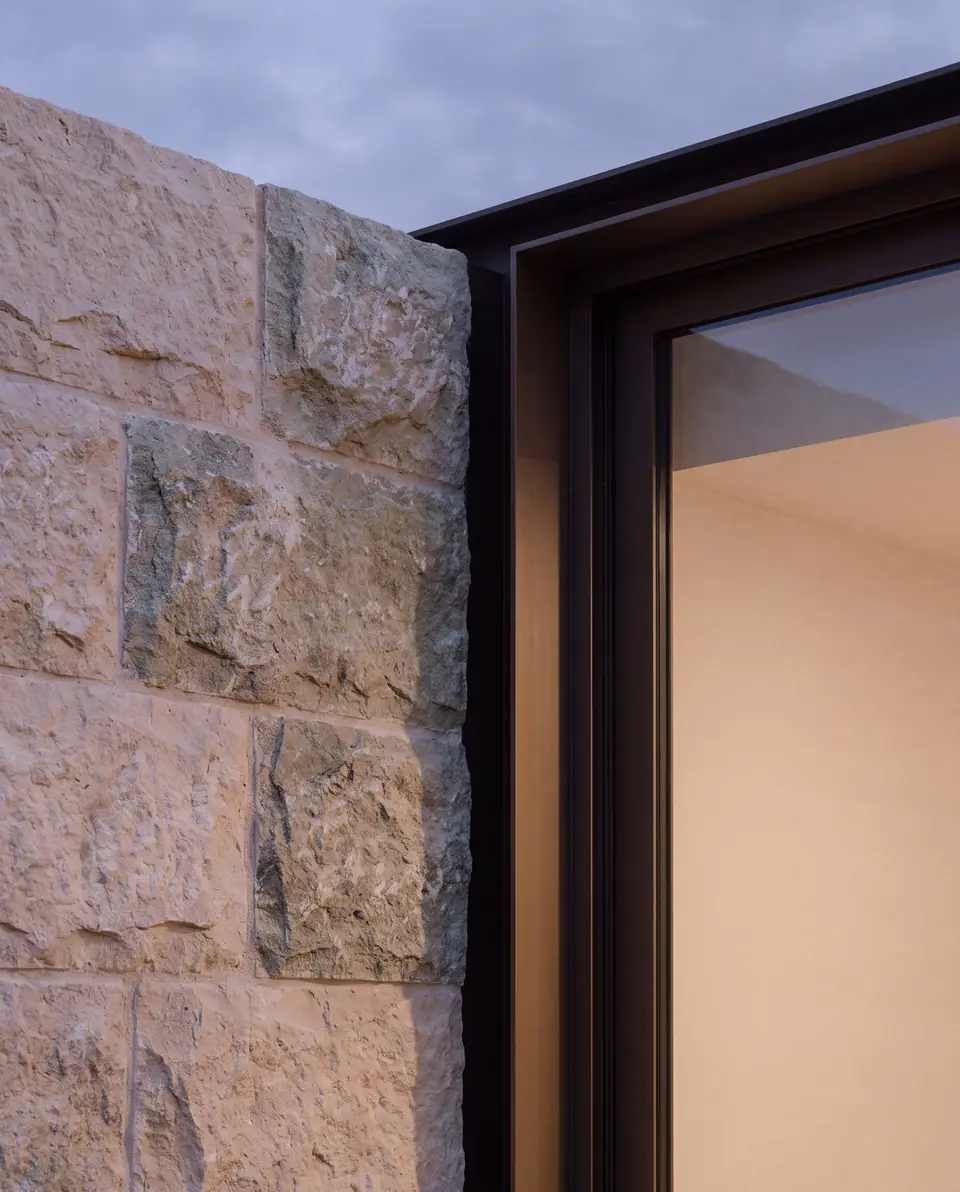
1. A window head in stone
The top of a window in a stone wall collects water running down the face above and water that gets behind the stone. A head flashing has to catch it and carry it out past the face of the stone, and the water-resistive barrier above has to lap over that flashing, never tuck behind it. Below, a sill pan with turned-up ends and a raised back edge gives any leak a path outside. The sealant between stone and frame is a second line of defense. Our roofing, siding and windows page covers window replacement.
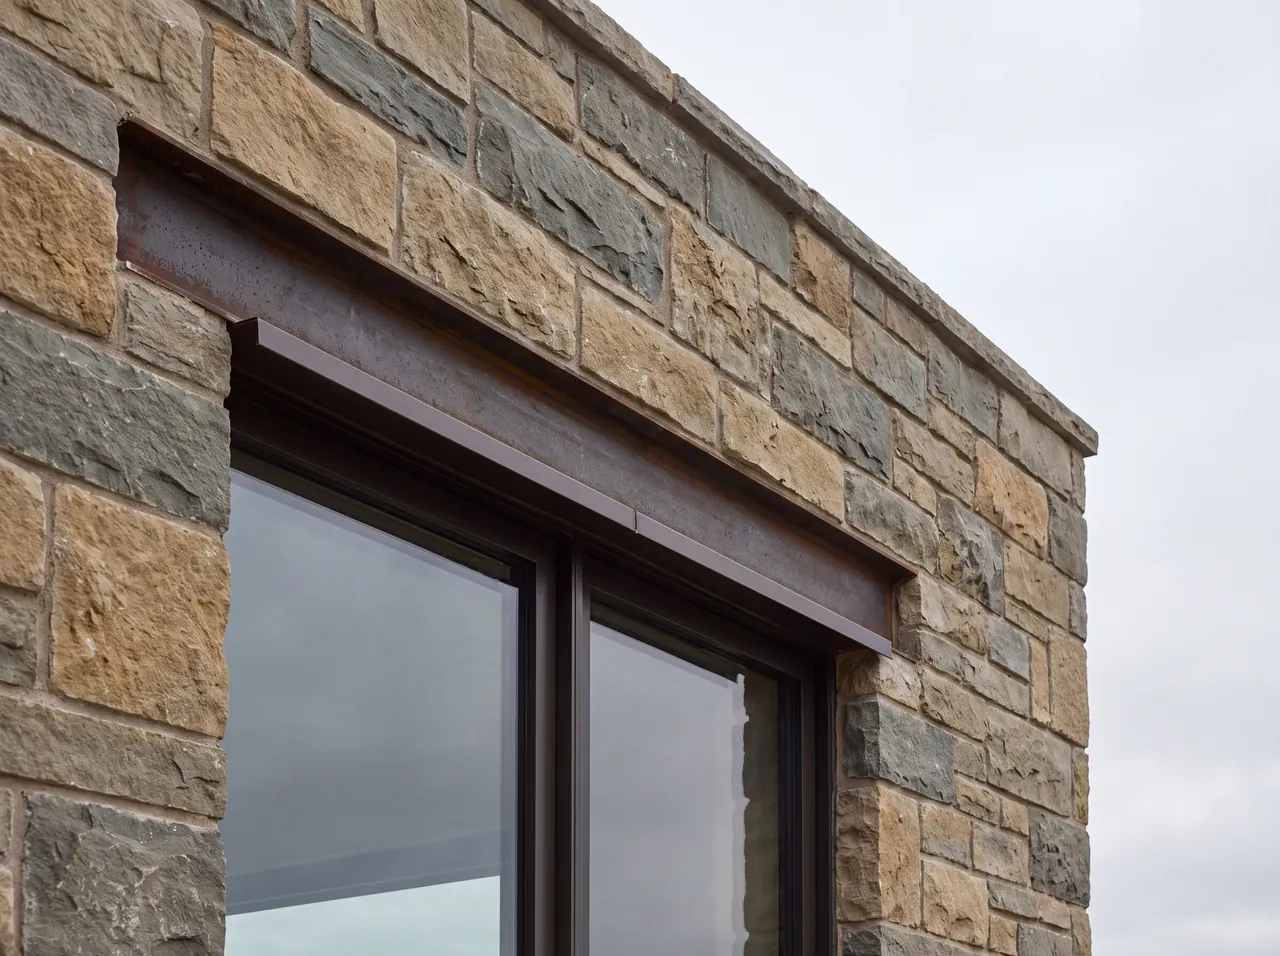
2. Stone veneer at grade
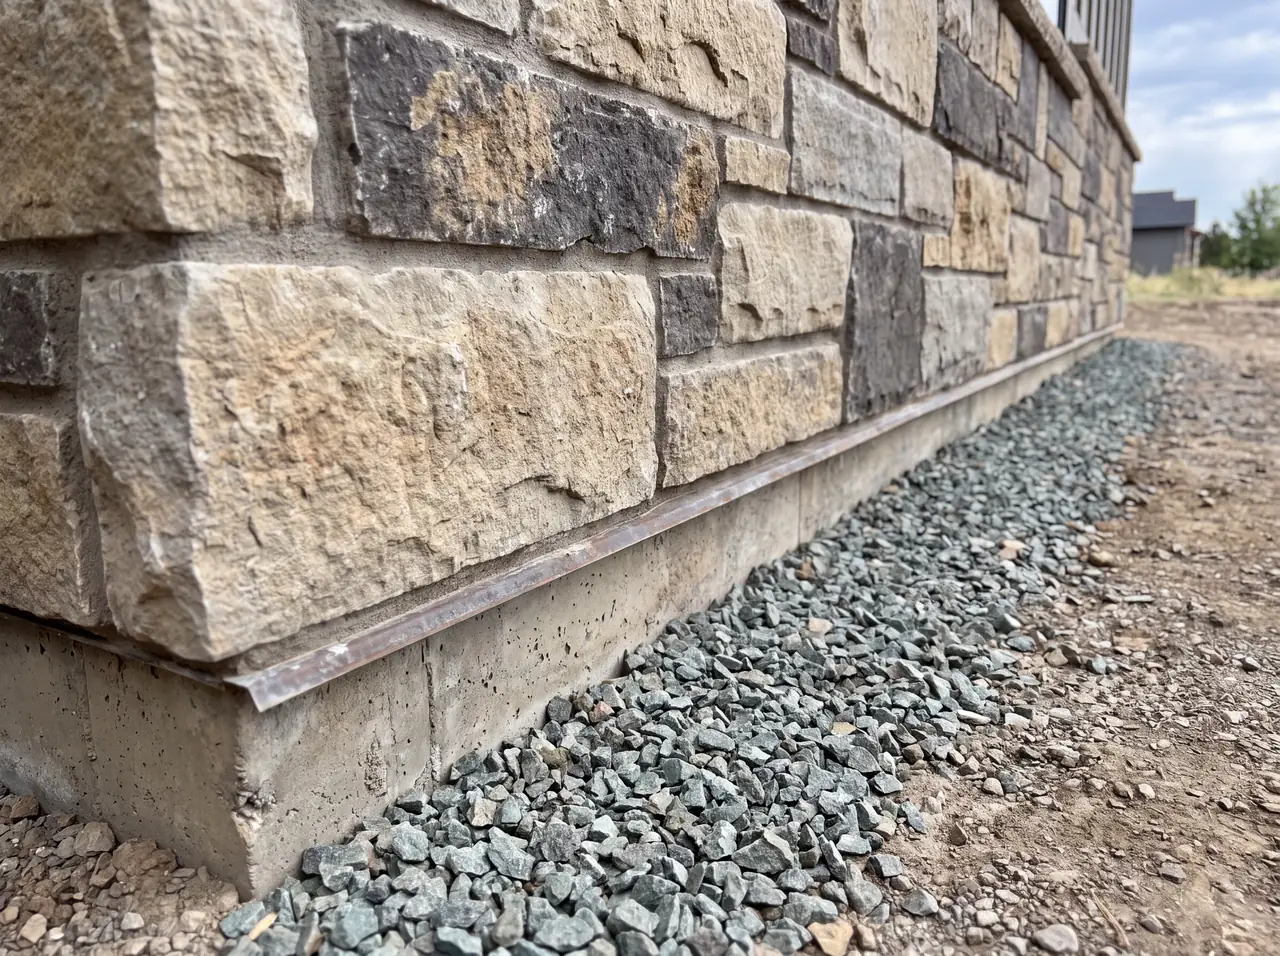
Where stone meets the ground, it needs a clearance above soil and a smaller one above paving, set by the building code and the stone manufacturer. At the bottom of adhered stone, a weep screed lets drained water escape. When landscaping, mulch or a new patio buries that edge, water wicks up into the wall and the drainage path is blocked. Grade should slope away from the house, and sprinkler heads should not spray the wall.
3. A roof edge meeting a wall
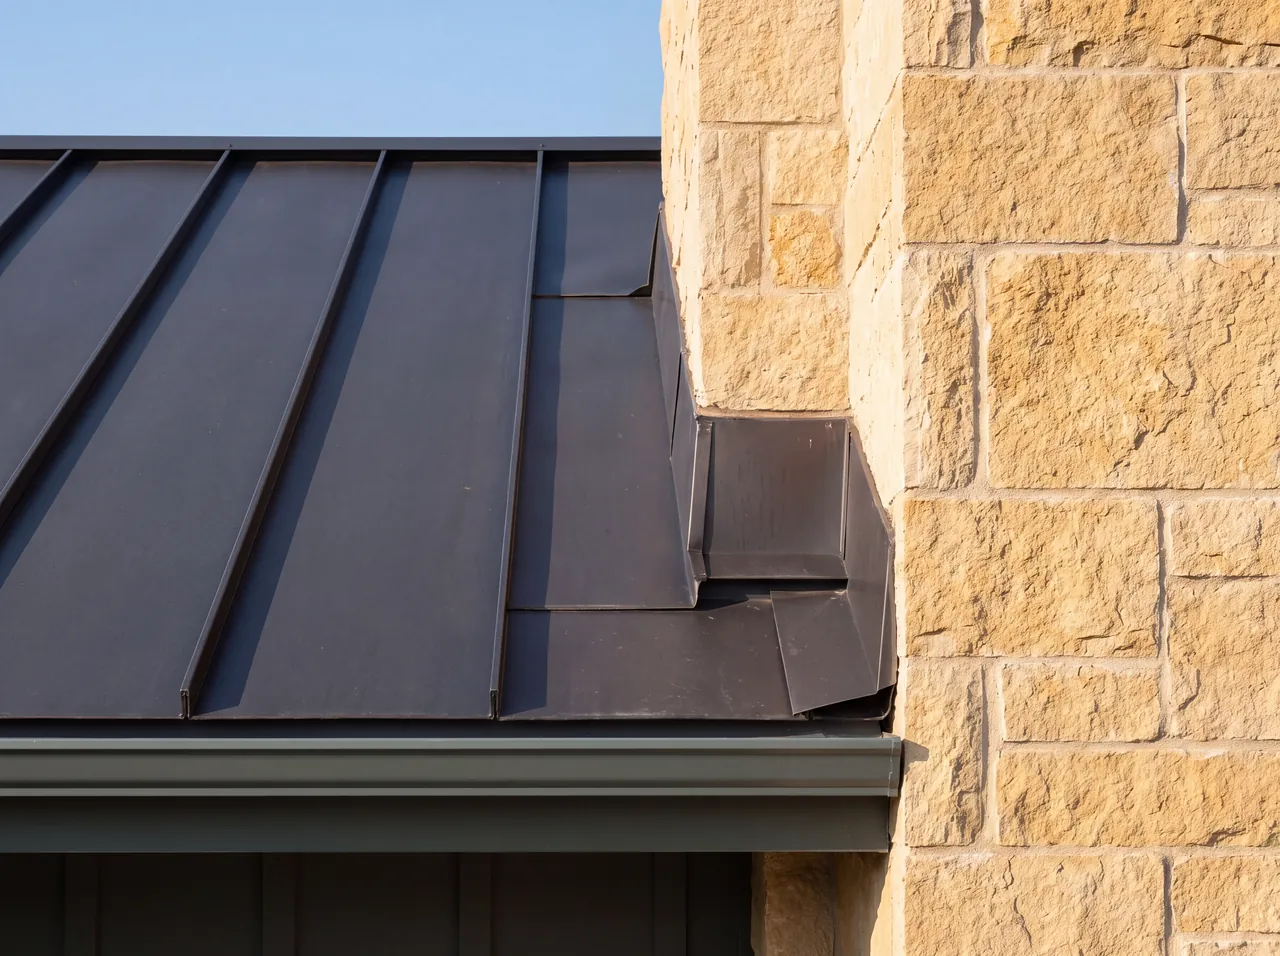
Where a lower roof runs into a taller wall, step flashing is woven into each shingle course along the wall. At the bottom, a kickout flashing turns the water out into the gutter. Without it, roof water pours behind the siding, and the wall below often rots long before a stain appears inside. It is one of the most common hidden failures uncovered in repairs and renovations.
4. A deck ledger
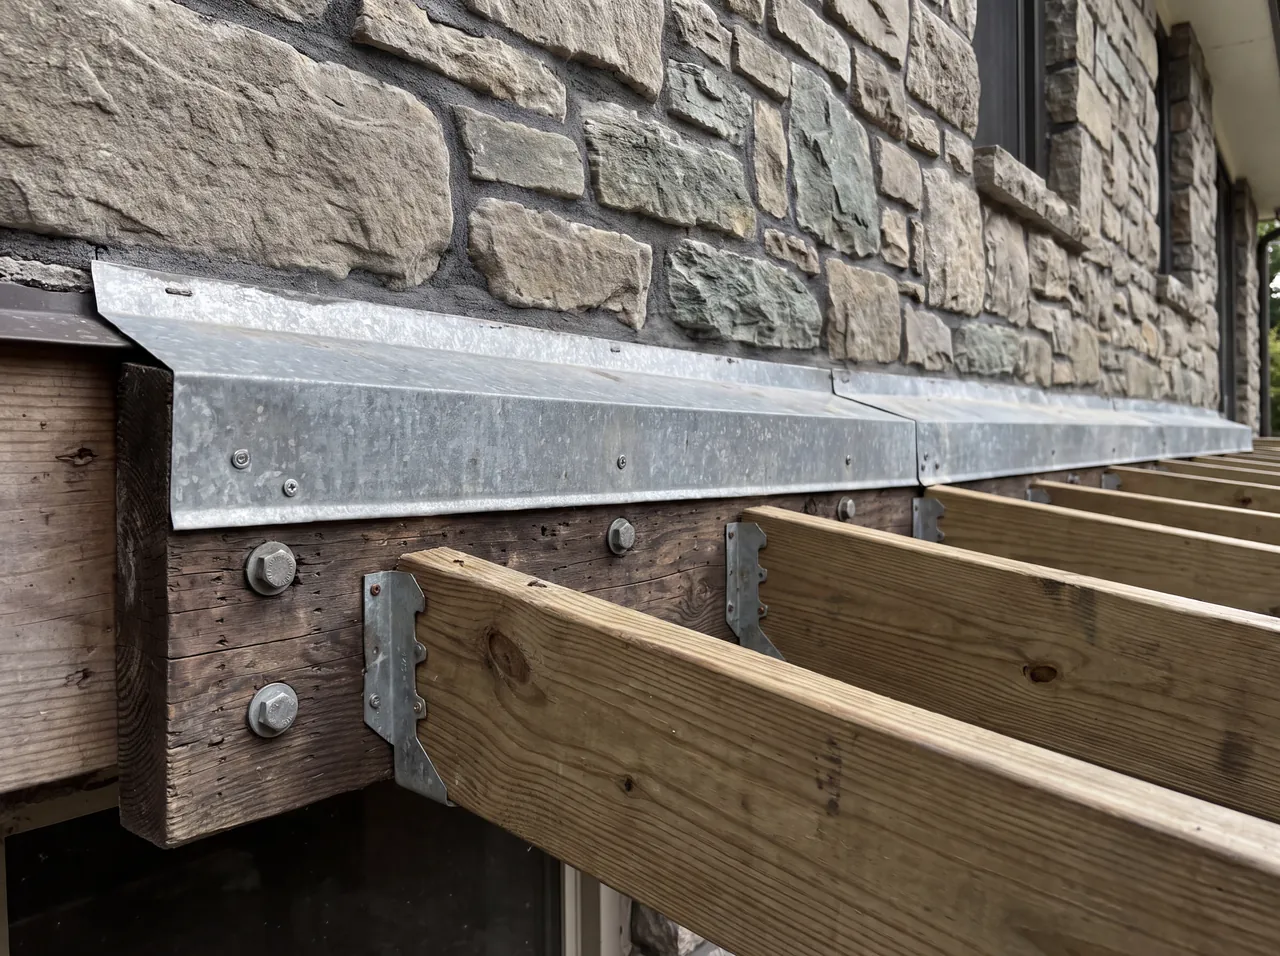
A ledger is the board that attaches a deck to the house. It has to be fastened to the house framing with bolts or structural screws, not nails, with flashing that sheds water over the ledger and tucks under the water-resistive barrier above. A ledger installed over siding, or without flashing, lets water sit against the rim joist and rot the connection holding the deck up. The decks and outdoor living page explains what an inspector looks for.
5. Timber meeting stone
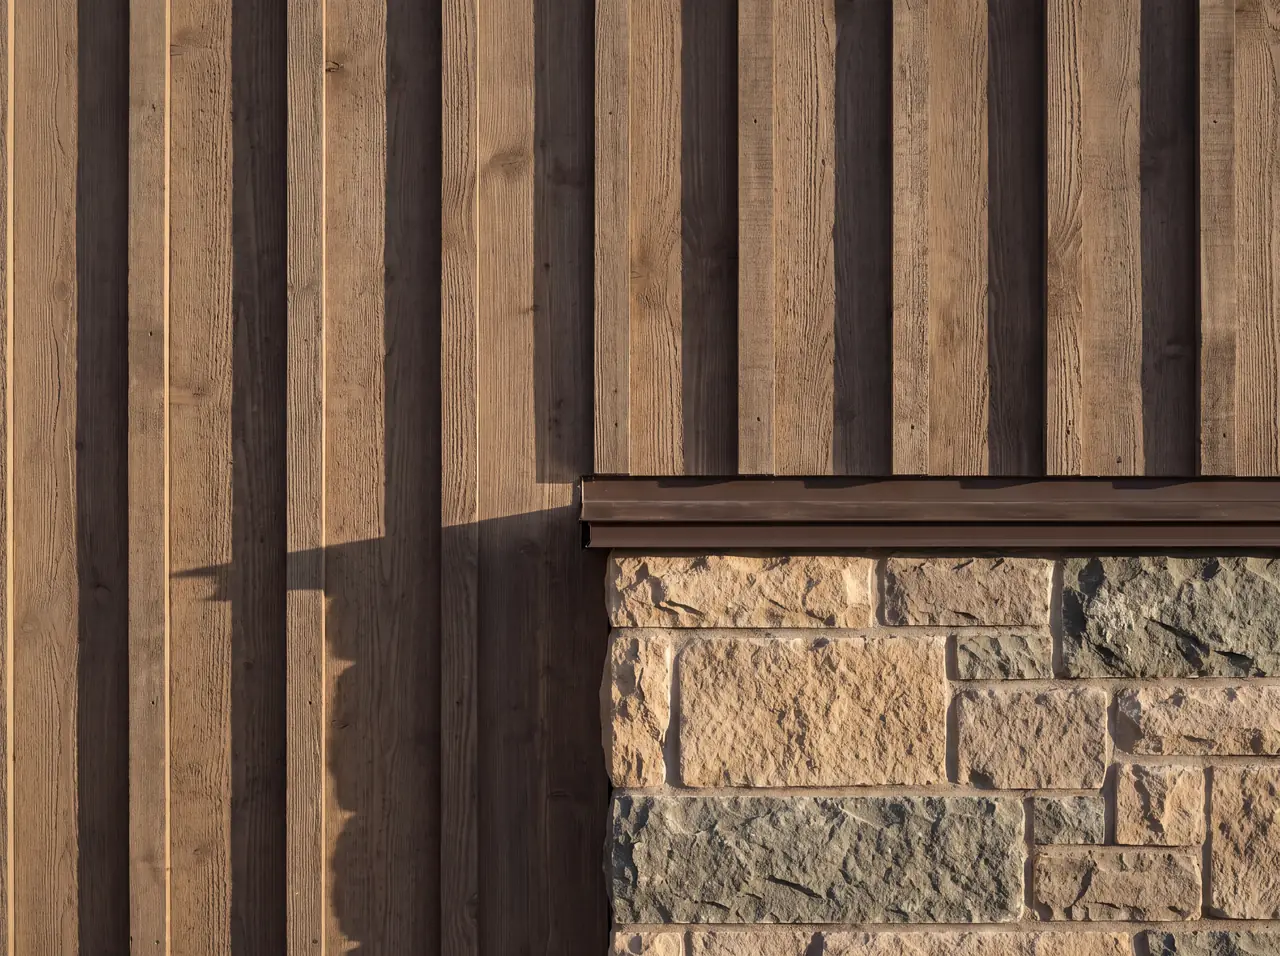
Heavy timber looks natural next to stone, but end grain draws water like a bundle of straws. A post set directly on masonry, or a beam end buried tight in a stone pocket, stays wet and decays. Good practice lifts timber off the masonry on a steel base or gap, leaves air around beam ends and caps exposed tops. Timber also shrinks and checks in Colorado's dry air, so stone is scribed to it with room for movement. These connections come up often on custom homes and home additions.
6. A chimney with cricket and counterflashing
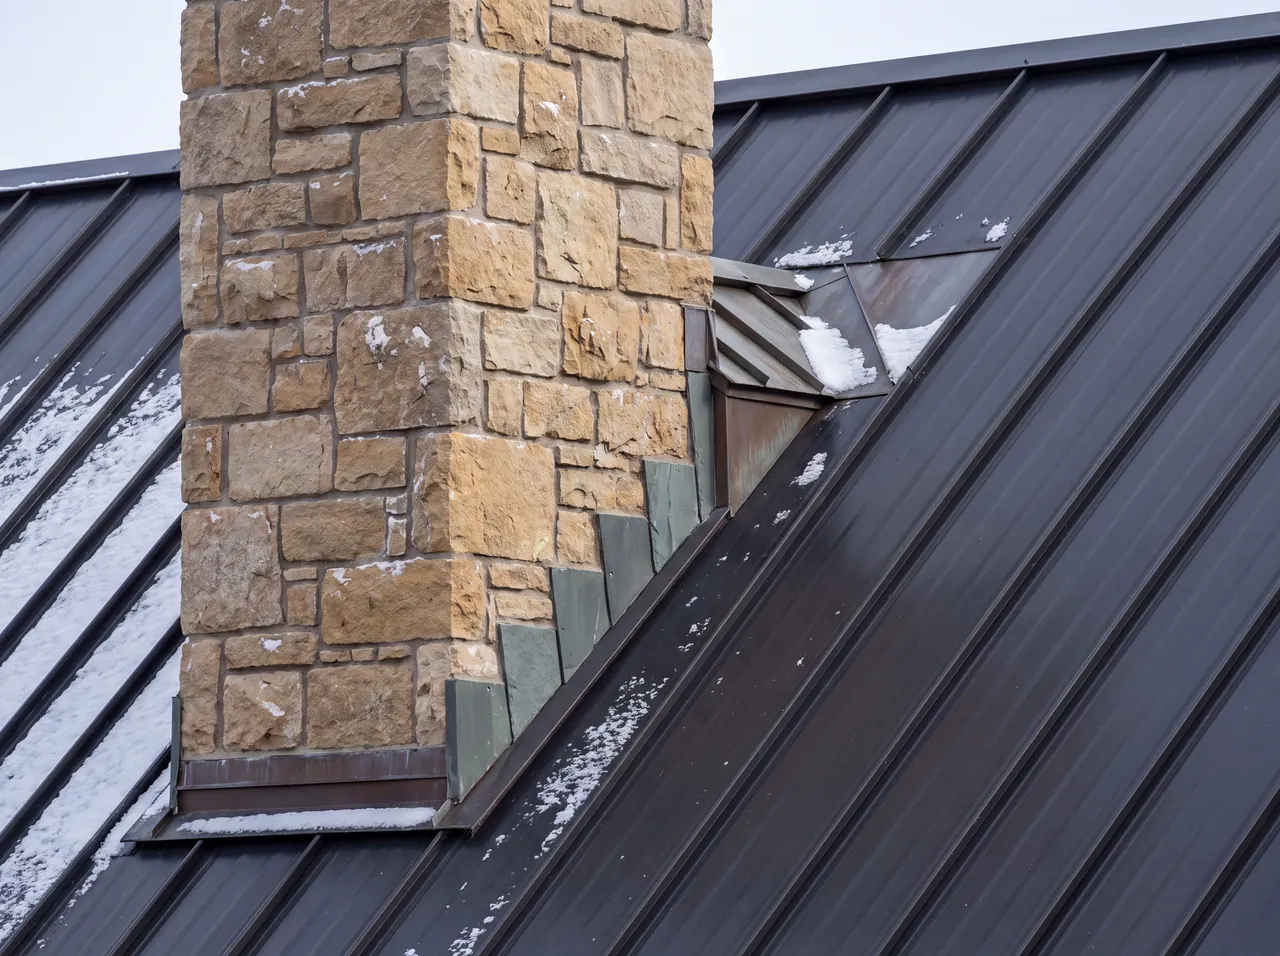
A chimney interrupts the roof, and its uphill side catches the water and snow coming down the slope. A cricket, a small peaked roof behind the chimney, splits that flow and sends it around. Along the sides, step flashing laps with the shingles, and counterflashing set into the mortar joints laps down over it so the two can move independently. The crown on top needs a drip edge and no cracks, since freeze-thaw turns a small crack into spalled brick.
Six layers behind a stone wall
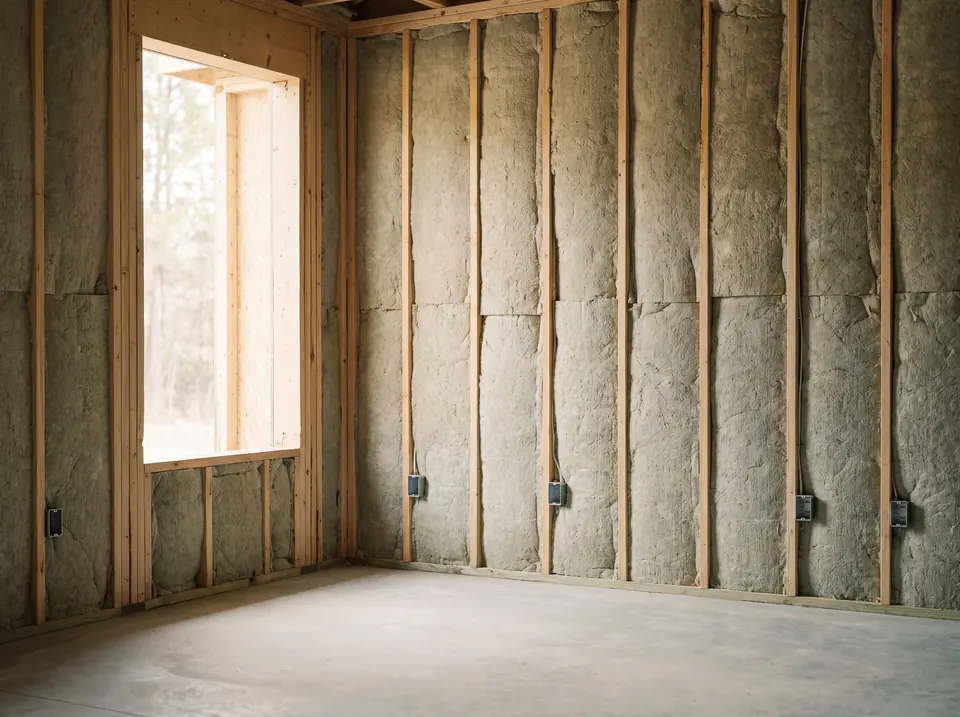
A stone-clad wall works as an assembly of layers with separate jobs. See them come apart one at a time in what sits behind the stone. From outside in:
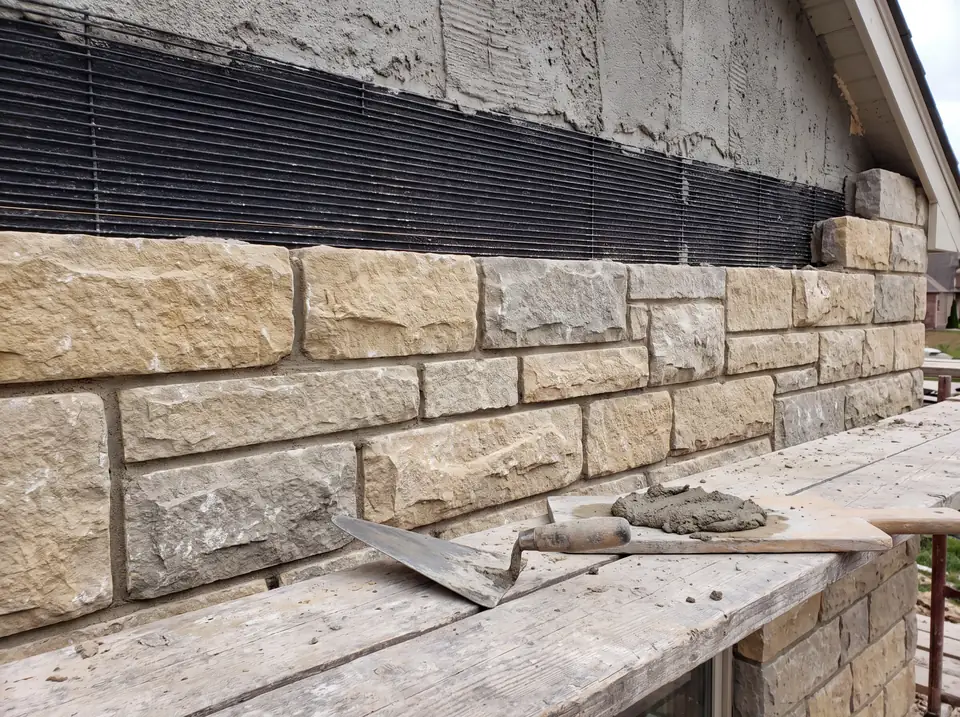
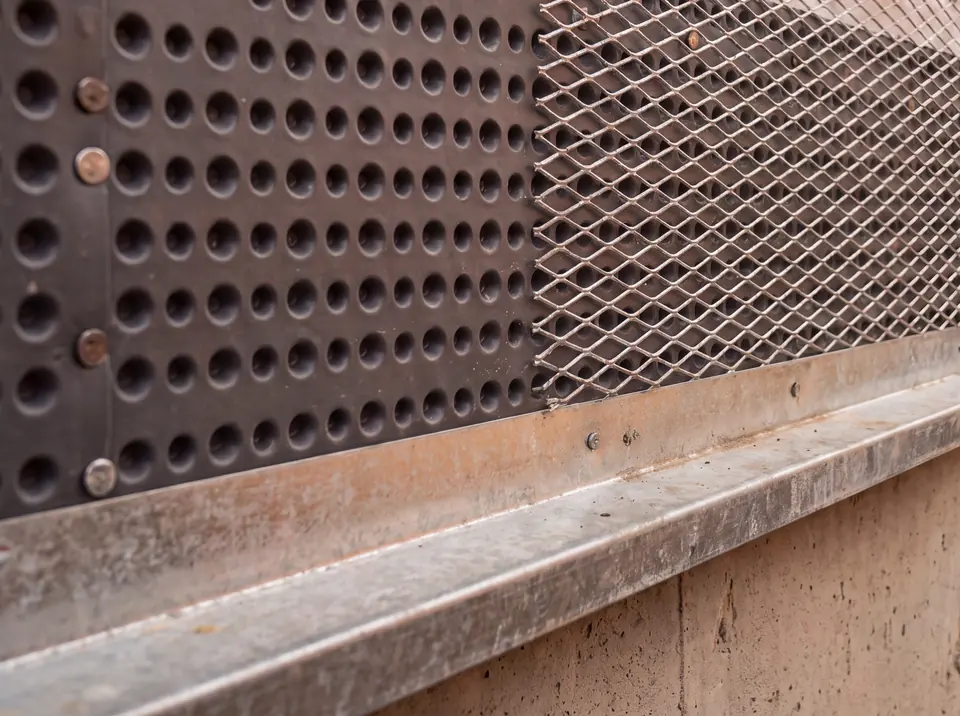
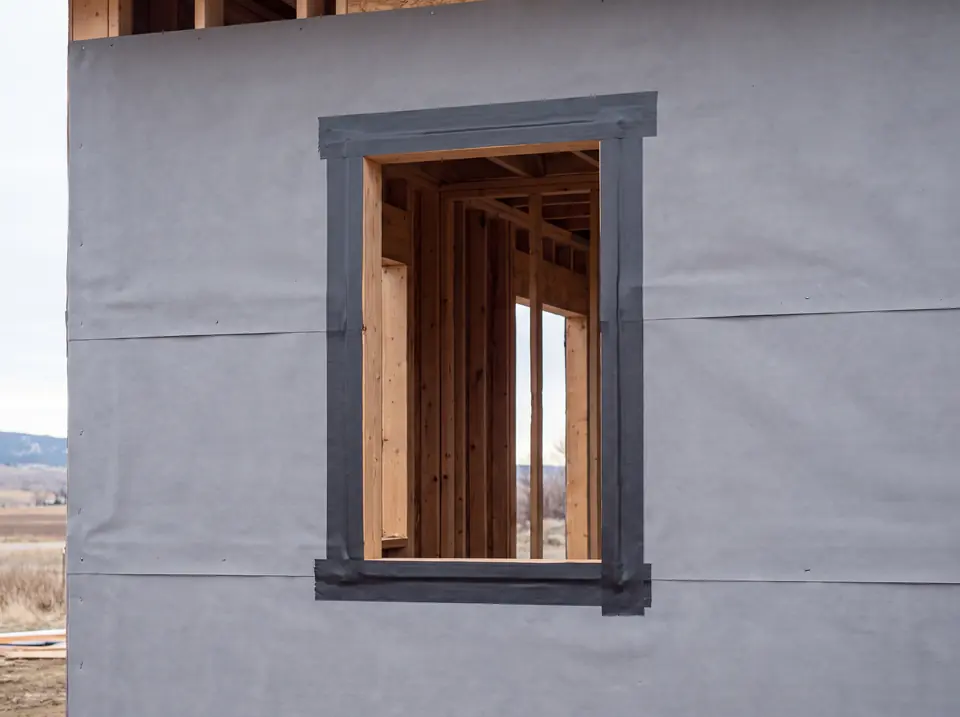
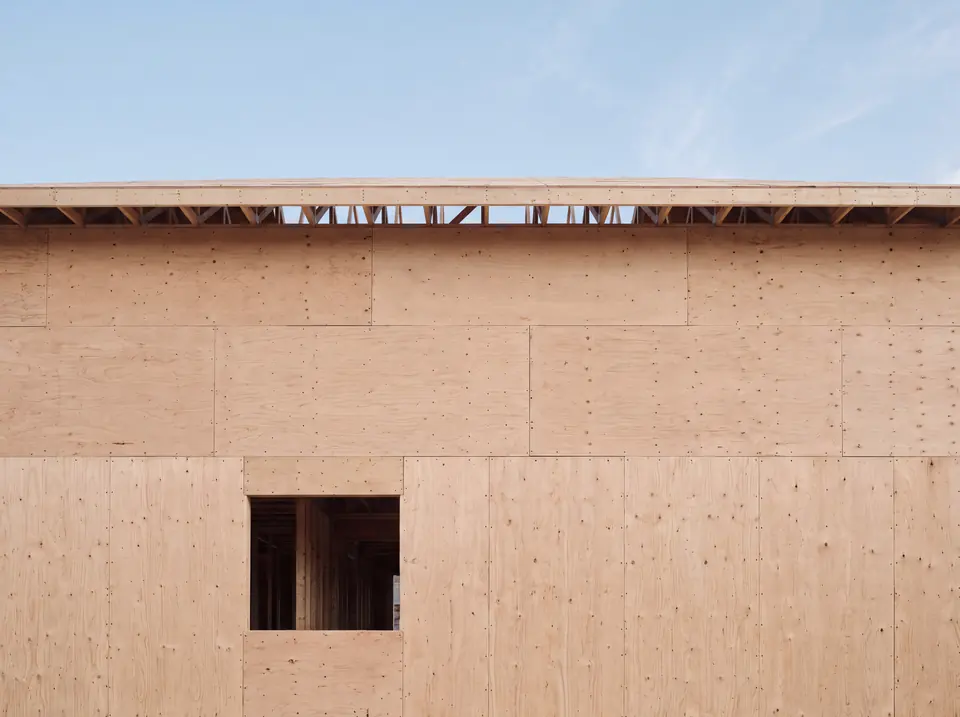
- Stone. The face of the wall. It sheds most rain but absorbs some and lets some through, so it is never the waterproof layer.
- Drainage gap. A narrow space or drainage mat that gives water behind the stone a clear path down to the weep at the base.
- Water-resistive barrier. The real rain line, lapped upper over lower so water always runs over a seam.
- Sheathing. Panels that stiffen the frame against wind and give the barrier a continuous backing.
- Framing and insulation. Studs carry the floors and roof, and the cavities hold insulation to the level the locally adopted energy code requires.
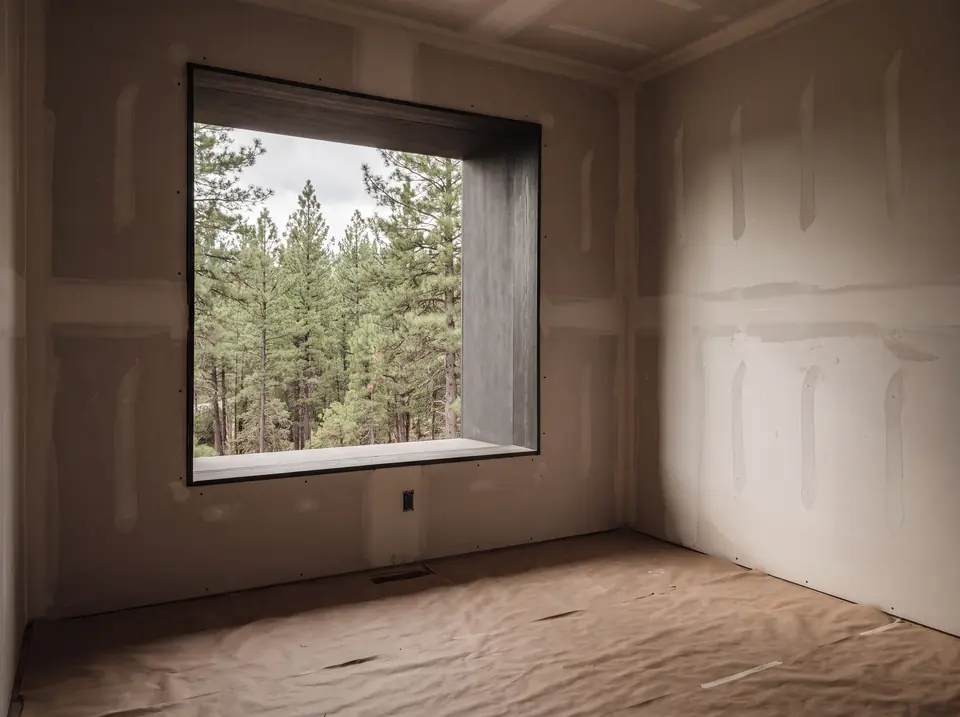
- Interior finish. Drywall or plaster, where movement in the frame shows up as cracks if it was not planned for.
Flashing basics every owner can understand
Flashing is any thin material, usually metal or a membrane, that redirects water at a joint. The rules are simple.
- Lap upper over lower. Water should always run over a seam, never into one.
- Flash every opening and penetration: windows, doors, vents, pipes, light fixtures and hose bibs.
- Tie flashing into the water-resistive barrier, not just to the siding or stone.
- Treat sealant as maintenance. Caulk ages in strong high-altitude sun and has to be renewed; flashing should keep water out without it.
- Give water an exit. Weeps, gaps and drip edges are deliberate, and they should never be sealed shut.
- Match metals and fasteners. Some lumber preservatives corrode aluminum and uncoated steel, so anything touching treated wood needs compatible materials.
- Protect the eaves. In snow country, an ice barrier membrane at the roof edge helps keep meltwater backed up by ice dams out of the walls.

Signs a joint is already failing
Many failures show symptoms before they become structural. Look for staining or peeling paint below window corners, white mineral deposits on stone, soft siding where a roof meets a wall, rust streaks below flashing and ice dams along the same eave every winter. Inside, watch for ceiling stains and drywall cracks that keep returning.
Any one of these is worth a closer look, and photos help. To ask about a joint on your own house, start a conversation. For how these hidden layers shape a project from the first meeting, see our approach to a build or remodel.
Common questions
What is a kickout flashing and do I have one?
It is a small diverter at the bottom of the flashing where a roof meets a wall, angled to throw water into the gutter. Look at the low end of any roof that runs into a wall. If the siding there is stained or soft, water may be getting behind it.
Can I just caulk a leaking window?
Caulk can slow a leak, but it rarely fixes the cause. Most window leaks come from missing or reversed flashing, which means the water is already behind the siding or stone.
Why does my deck ledger matter so much?
On most attached decks, the ledger carries a large share of the load into the house. If water rots the ledger or the rim joist behind it, that connection weakens out of sight, which makes it a structural concern and not only a maintenance one.